When I was working the counter in Vancouver, shoppers who were self-conscious about a red nose and cheeks came in all the time — it was one of the most common things people brought up. So let’s get into how to cover redness with makeup — without piling on more foundation.
“I put foundation on thick to hide the redness, but the red still shows through.” “The more I cover, the heavier my makeup gets, and the redness is still there.”
That makes sense. Redness ultimately reads as a red tone sitting on the skin, so simply piling on more skin-toned foundation can’t fully cancel that tone. The answer isn’t to keep going thicker — it’s to correct the color first, then cover thinly. I’ll walk through it in the same order I used to explain it at the counter: why foundation alone doesn’t hide redness, and then how to use color to cover it with a light hand.
This is general makeup information. Redness has many causes (cold wind, sensitivity, breakouts, and more), and if it’s persistently severe or comes with burning and pustules, it could be a skin condition like rosacea. Makeup covers — it doesn’t treat. Don’t apply it over irritated or broken skin, patch-test new products first if you’re sensitive, and see a dermatologist if symptoms continue.
The whole order at a glance: ① soothe and hydrate → ② neutralize redness with a green color corrector → ③ thin but buildable foundation → ④ concealer only where redness remains → ⑤ set lightly
Why Redness Still Shows Through Foundation
Understanding the cause makes the method click. Facial redness can come from visible blood vessels, inflammation, irritation, flushing, and other causes. Layering skin-toned foundation over redness doesn’t always fully neutralize the color — especially when you keep adding more coverage. So the harder you try to cover it, the heavier the makeup starts to look and feel, and it can even begin to crack.
To deal with a color, you have to approach it with color. On the color wheel, green sits opposite red, so laying the thinnest veil of green over a red area can make the redness look visually less obvious. That’s the principle behind color correcting.
① Soothe and Hydrate First — Start by Reducing Irritation
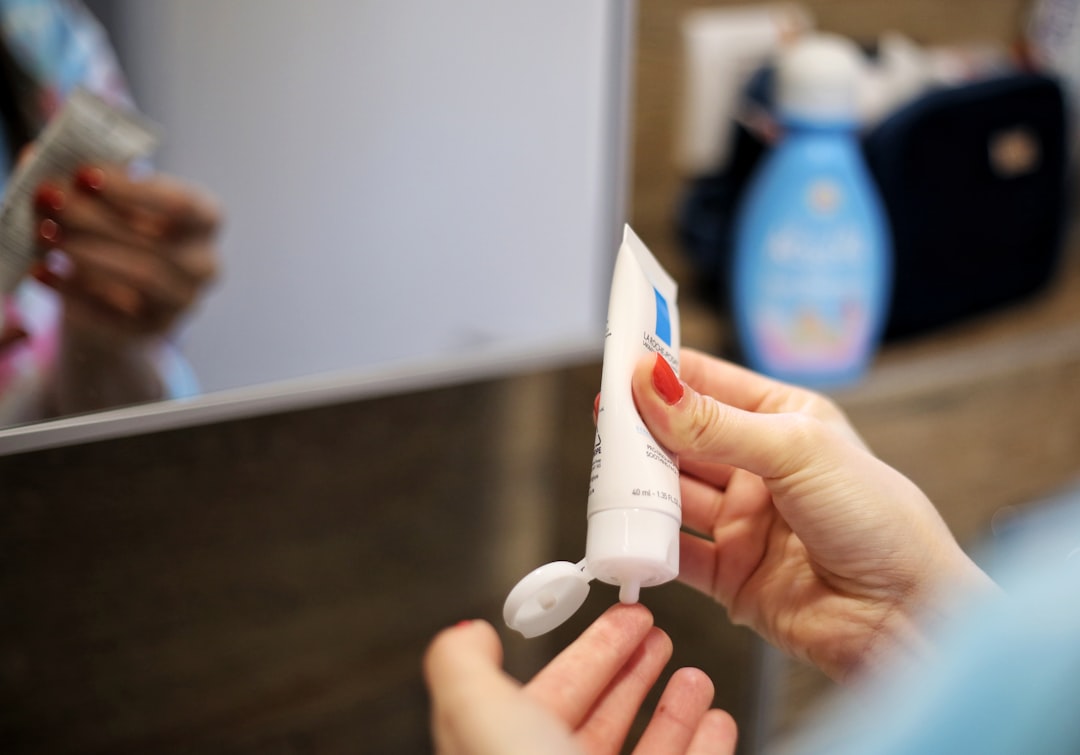
Photo by Andrijana Bozic · Unsplash
Skin that flushes easily is sometimes sensitive to irritation. So before you cover anything, it’s worth starting by reducing unnecessary irritation and making the skin comfortable.
- Be careful with potentially irritating ingredients: things like fragrance and alcohol can be irritating for some people. If your skin is easily irritated, look for products without them. Especially if a product stings or burns when you use it, stop using it. Focus on soothing and moisturizing to keep skin comfortable. (If you’re curious about soothing ingredients like cica (Centella Asiatica), see my post on cica; for sensitive skin care in general, see my sensitive skin routine.)
- Barrier care: when your skin barrier is weak, redness and reactivity can get worse. I covered the underlying care in how to repair a damaged skin barrier.
Starting makeup on comfortable skin means your base clings better, and as a result you get a cleaner finish without needing heavy coverage.
② Neutralize Redness with a Green Color Corrector
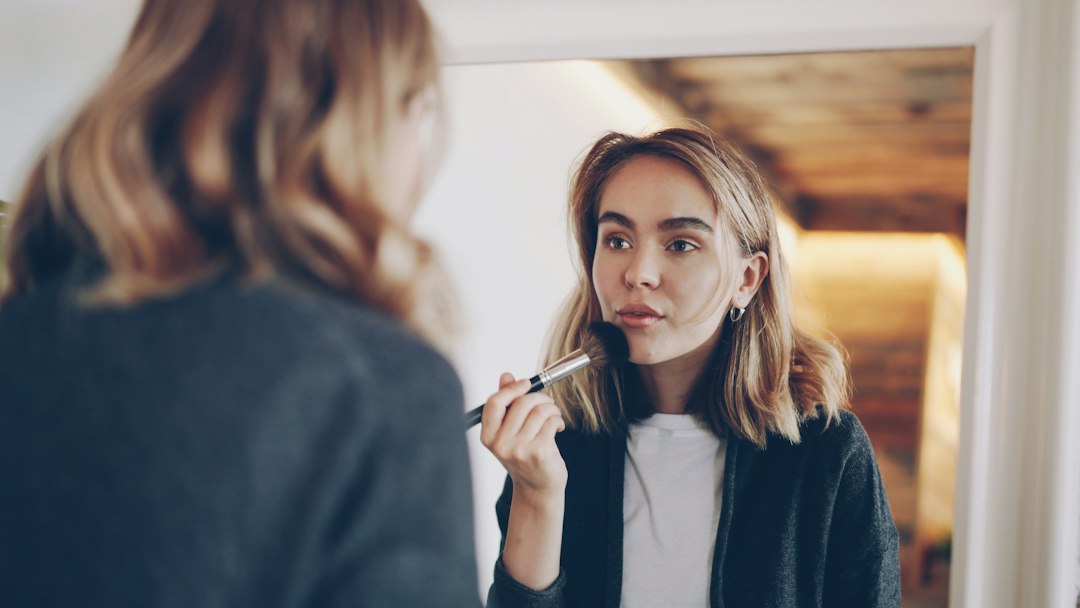
Photo by Vitaly Gariev · Unsplash
This is the step that makes the biggest difference. Before foundation, you correct the color of the red areas.
- A tiny amount, only on the red spots: a little color corrector goes a long way. Dot it onto the red areas like the sides of your nose and your cheeks, then tap it out gently with a fingertip or a sponge to blend. Use too much and it can look grey and dull instead.
- Let it settle a little first: don’t lay the corrector on thick — tap it in lightly, and once the surface has settled a bit, go in with foundation. That keeps the corrector underneath from getting pushed around.
- If redness is more widespread: instead of spot-correcting, you can thinly spread a green-toned color correcting primer over the red areas.
③ A Thin but Buildable Foundation
The corrector has handled the color, so a thin layer of foundation is plenty.
- “Lightweight, buildable coverage” over “full coverage”: pick a formula that covers without feeling heavy, and tap on only as much as you actually need.
- Rubbing over the corrector will shift it, so tap the foundation on instead.
④ Spot-Conceal Only the Redness That’s Left
Don’t layer over your whole face — after foundation, just pinpoint the red areas that are still visible and tidy them up with concealer. Tap on a small amount so it blends into the surrounding skin. (I also covered color correcting and concealer technique in my post on covering dark circles.)
⑤ Set Lightly
- A small amount of finely milled powder, pressed in: press a thin layer mainly where you get oily. Overdo it and it cracks and looks heavy.
- If your skin is both redness-prone and dry, a light finish can look more natural than a heavy layer of matte powder.
The Mistakes I Saw Most at the Counter
Wanting to hide redness fast was usually what ruined the makeup.
- Covering with foundation alone → it gets thick and the red still shows. Color has to be handled with color (a corrector).
- Too much green corrector → it turns grey and dull. A small amount is the whole point.
- Irritating products → more redness. Go soothing and gentle instead.
- Heavy setting → cracking and a suffocating look. Keep the powder minimal.
I’ve Been There Too
My own nose and cheeks tend to flush whenever the seasons change, and I used to keep piling on foundation. But no matter how much I layered, the redness showed through and the makeup just got heavier, so by evening it was cracking. I figured “a high-coverage foundation will fix it” and switched products — same result.
What changed wasn’t the product; it was the order and the method. Soothe the skin first, correct the color on red areas with a green corrector, and keep foundation thin. Only after that switch did the redness look less visible even with a light application, and it looked far more natural. That’s when I started telling customers, “Don’t cover more — erase it with color.”
When to See a Professional
- When redness lasts a long time or keeps getting worse
- When burning and stinging come with recurring acne-like bumps or pustules
In cases like these, it may not be simple flushing but a skin condition like rosacea. There’s a limit to what makeup can hide, so it’s worth getting a diagnosis from a dermatologist.
Products That Help, by Purpose
Rather than one specific product, choose by what job it does in the steps above. (Everyone’s skin is different, so what suits one person may not suit you the same way.)
- Soothing care — a gentle serum or cream with calming ingredients like cica (Centella Asiatica) (step ①)
- Neutralizing redness — a green color corrector (for spots) or a green-toned correcting primer (when your whole face is red)
- Lightweight coverage foundation — a formula that covers but applies thinly. If your skin is sensitive, an oil-free or mineral formula is one option worth considering
- Spot coverage — a concealer for whatever redness is left
To Sum Up
That’s really what how to cover redness with makeup comes down to — not covering more thickly, but handling it with color and applying thinly, in that order.
- Get skin comfortable with soothing and hydration
- Neutralize the color on red areas with a green color corrector (a little!)
- Tap on a thin but buildable foundation
- Spot-conceal only the redness that’s left
- Press on a small amount of powder to set
Once you remember that redness shows through the more you cover it, you can get a much cleaner, more natural complexion without ever applying makeup thickly.