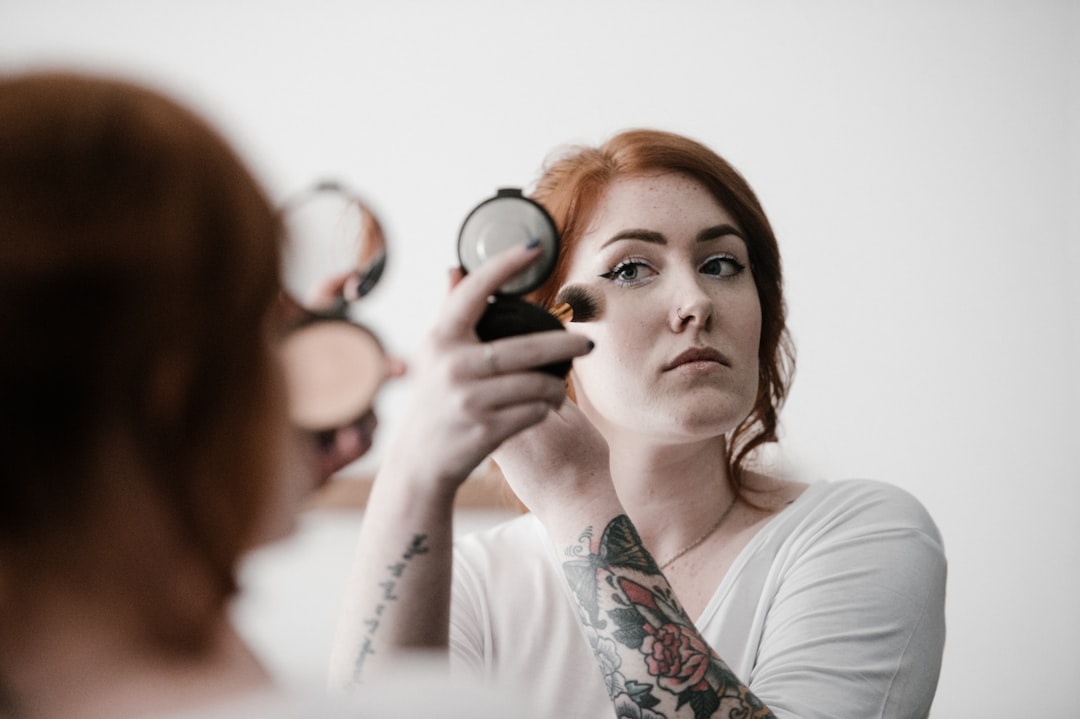
Photo by Annie Spratt · Unsplash
In my earlier post on dark circles, I talked about how vascular and structural dark circles — the kind that skincare alone can’t really fix — are most realistically handled with makeup. Today’s post is the practical follow-up on how to cover dark circles with concealer — plus color correcting for blemishes — based on what I learned from working with clients as an esthetician.
First, Decide What You’re Covering, and How Much
Before you reach for a concealer, figure out where you actually want coverage, and how much of it — that one decision makes product choice a lot easier.
- If you want overall tone correction, a color-correcting makeup base worn across the whole face works well, or you can reach for one of the many sunscreens with a tone-up effect these days. (See my Korean sunscreen guide for options.)
- If you’re dealing with something localized — dark circles, a blemish, a dark spot — concealer is usually the better choice, applied only where you need it.
So the product you reach for really depends on whether you’re correcting your overall tone or covering a specific spot.
⭐ Color Correcting: The Real Key to Covering Dark Circles with Concealer
This is the part that makes the biggest difference, and it’s also the part most people skip. Color correcting uses colors opposite each other on the color wheel to visually neutralize a specific discoloration in the skin. That said, the exact shade and amount you need will vary depending on your skin tone and how deep the discoloration is.
- Dark circles (blue or purple undertones) → peach, apricot, or orange correctors work here. As a general rule, lighter skin tones look most natural with a softer peach, while deeper skin tones — or more intense, dark-toned circles — tend to suit orange better. Either way, it’s worth adjusting based on your own skin tone and how dark your circles actually are.
- Redness (like red marks) → green correctors can help neutralize the appearance of redness.
- Skin with a yellow cast → lavender or purple tones can help visually balance excessive yellow tones.
- Brown spots or hyperpigmentation → skip color correcting and just use a concealer that matches your skin tone, applied thinly only where needed.
A multi-shade color-correcting palette makes this easier since you can mix and match for different areas. And the most important part is choosing your corrector based on both your skin tone and the color of the area you’re covering.
⚠️ If a spot appeared suddenly or is changing in shape or color, don’t treat it as a simple blemish — get it checked by a dermatologist.
After the Corrector, a Skin-Tone Concealer: The Basic Order
Color correcting alone usually isn’t the finish line. Applying a very thin layer of color corrector first, then a thin layer of skin-tone concealer on top blends everything much more naturally. Here’s a general order to work from:
Skincare → sunscreen → makeup base (optional) → foundation (if you’re using one) → color corrector → skin-tone concealer → powder (only where needed)
Keep in mind this is just a basic reference order — depending on the formula and coverage style of your products, the order between corrector and concealer can shift. What matters most is not applying either one thick.
Does Concealer Always Have to Be Lighter Than Your Skin?
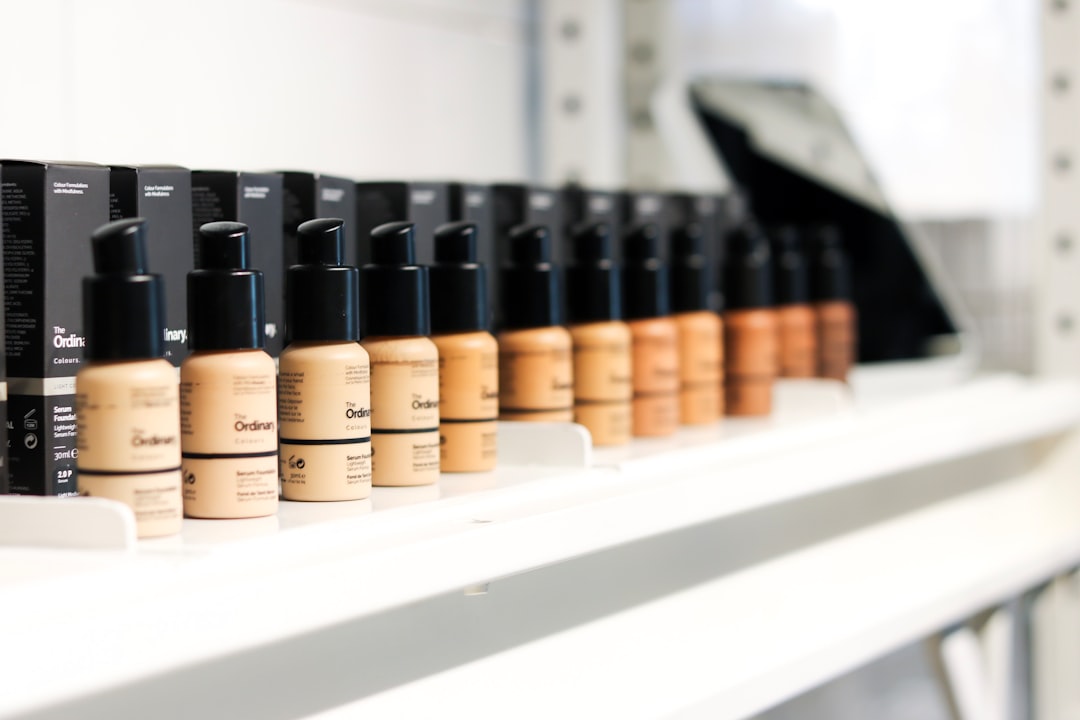
Photo by Felicia Buitenwerf · Unsplash
Not necessarily. If you’re covering pigmentation, like a blemish, choosing a shade as close to your skin tone as possible looks more natural. A concealer that’s too light can actually make that spot stand out more.
The same goes for dark circles under the eyes. A natural approach is to neutralize the darkness with a peach or orange corrector first, then layer a thin concealer that isn’t drastically lighter than your skin tone.
⭐ Applying It Thick Makes It More Noticeable, Not Less
This is something I always made a point of telling shoppers at the counter. When you layer concealer thick trying to cover something completely, it tends to draw more attention to that spot and look less natural. The under-eye area moves a lot, so a thick layer is especially prone to settling into fine lines and creasing, which makes it stand out even more.
That’s why blending naturally into the surrounding skin tone looks so much better than trying to erase something completely. Think of the goal as blending in, not covering up.
Match the Concealer Formula to the Area
Concealers come in a lot of different formulas, and it helps to think about texture in terms of where you’re using it:
- Liquid → good for spreading over a wider area, like under the eyes, or when you want a thin layer
- Creamy or balm → good for targeted coverage on a specific spot, like a blemish
- Stick or pencil → good for precise coverage on small areas
- Dry under-eyes → a very matte, thick formula is prone to settling into fine lines, so keep the layer thin
That said, coverage and finish vary a lot by product, so texture type alone isn’t an absolute rule.
How you apply it is really up to preference too — tap it on with your fingertip where needed, or use a sponge or brush for a more blended look. The key is a small amount, only where you need it.
What If Your Concealer Keeps Sliding or Creasing?
If your concealer keeps moving around or creasing, that’s not always the concealer’s fault. If you’ve layered on too much skincare or sunscreen under the eyes and go straight in with concealer on top, it’s much more likely to slide or crease.
- Don’t over-apply skincare products under the eyes
- Let everything absorb fully before starting makeup
- Apply concealer in thin layers rather than a lot at once
- Use an especially light hand around areas where under-eye lines fold
- Finish with a small amount of powder, only where it’s needed, to set things in place
At the end of the day, avoiding creasing comes down to applying thin, and only where it’s needed.
If Your Dark Circles Are Structural, Concealer Needs a Different Approach
If your dark circles are really shadows from the structure of your under-eye area rather than pigmentation or visible blood vessels, simply covering the dark area with a lighter concealer has its limits.
In that case, instead of spreading a very light concealer over a wide area, it can look more natural to use a small amount of concealer to soften just the edge where the shadow is most visible. Putting a very light shade over the entire hollow can actually make the indentation more noticeable.
For a More Natural Look
- It looks more natural to even out your overall skin tone with a makeup base or foundation, and use concealer only where it’s truly needed.
- Foundation can handle tone correction and coverage in one step, though the texture can feel a bit heavier — it really comes down to personal preference.
- Rather than going for heavy, full coverage, covering only the areas that actually need it tends to look fresher and more natural.
The Eye Area Is Sensitive — A Few Things to Keep in Mind
The skin around the eyes is thin and sensitive, so it’s worth being careful with makeup here too.
- Be careful not to get product in your eyes.
- Tap gently instead of rubbing.
- If your under-eye concealer tends to shift, you can lightly set it with a small amount of powder, only where needed. Just know that too much powder can leave the eye area looking dry or make fine lines more visible.
Wrapping Up
Concealer doesn’t “erase” dark circles — it visually smooths out what’s showing. If you remember just three things — figure out what and where you’re covering first, use color correcting based on the color wheel, and apply everything thin, never thick — you’ll get a much more natural result when using concealer to cover dark circles.
Managing the tone of your dark circles consistently through skincare, paired with covering them naturally day to day with makeup — using both together is really the most realistic way to deal with under-eye concerns.
This post is for general information only — how any cosmetic or makeup product feels and performs can vary from person to person. Stop use if you experience any irritation.