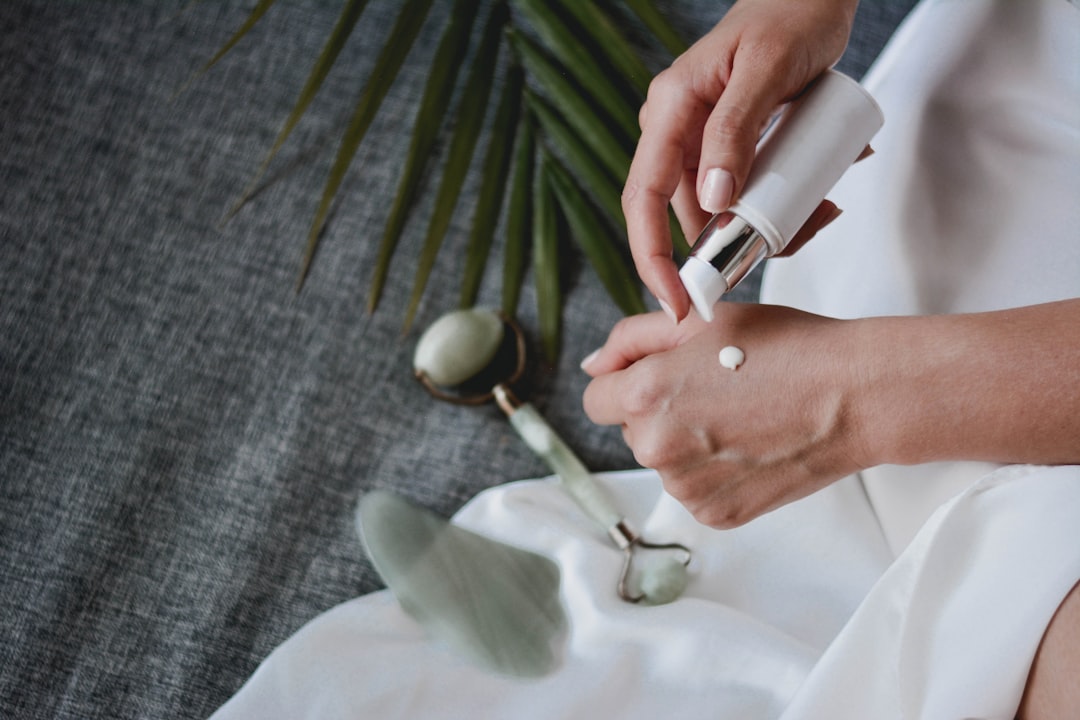
Photo by Content Pixie · Unsplash
You know the kind of skin you see in Korean dramas — naturally radiant, smooth-looking, and somehow still polished even in close-ups. When I worked the counter at a K-beauty shop in Vancouver, that was exactly what customers were after when they came in for a cushion. So let’s talk about how to hide pores with cushion foundation — without ending up with a heavy, cakey base.
“I bought this cushion because everyone said it was great, but on me it just sinks into my pores and makes them look worse.”
“If I apply it thick enough to cover, it hides them — but then it looks so obviously made-up and heavy.”
Whenever that came up, I’d apply the product on their actual face instead of the back of a hand — and the same product behaved completely differently. The difference wasn’t only the cushion itself; it also came down to how you prepped your skin and how you applied it. Covering pores isn’t about piling on more product. The thicker you go, the more likely your base is to look cakey and make pores and texture stand out.
This isn’t a “products that erase your pores” roundup. It’s the actual base makeup technique that makes pores less visible. (If you’re looking for skincare tips to make pores look less noticeable, I covered that in my Korean skincare routine for pores.) I’m laying it out in the same order I used to walk customers through at the counter — starting with why pores look more obvious in the first place, then how to actually apply a cushion, and finally a few products that help depending on what you’re going for.
This is general makeup information. Skin types and reactions vary from person to person, so if a particular product irritates your skin or causes breakouts, it’s best to stop using it.
Here’s the routine at a glance: ① Skin prep (exfoliation + hydration) → ② Pore primer → ③ Tap the cushion on → ④ Targeted coverage → ⑤ Set with powder → ⑥ Finish with setting spray
Why cushion foundation sinks into pores and makes them look worse
You have to understand the cause before the method makes sense. Cushion settling into pores usually comes down to these three things.
- Too much product: Pile it on all at once and the product gets pushed down into the pores, so each opening reads like a little shadow.
- Rubbing it in: When you swipe with a puff or your fingers, the product gets moved around instead of sitting evenly, which can make the texture look more obvious.
- Oil and dryness: If your skin is shiny — or the opposite, flaking — the product sits on top instead of adhering, and it slides into your pores as the day goes on.
So it’s not that the coverage isn’t there. It’s that the application method is driving product into your pores. The steps below tackle these three one at a time.
① Skin prep — half of your coverage is decided before you apply anything
Think of skin prep as the surface your makeup has to sit on. If that surface is dry or uneven, your base is going to show it.
- Deal with flaking: If you have lifted, flaky skin, it’s better to do regular exfoliation suited to your skin type than to scrub hard right before makeup. A smooth surface is what lets makeup adhere evenly. (I went into detail in my post on exfoliation. If clogged pores and blackheads are your bigger concern, have a look at my blackheads post too.)
- Hydrate, but give it time to sink in: Dry skin makes powder cling and look patchy. Applying makeup over skincare that hasn’t absorbed yet can also make your base slide around. Go for a lightweight texture rather than a heavy cream, and give it a minute before moving on.
Get this prep right and covering pores becomes so much easier.
② Pore primer — honestly, this is the real key
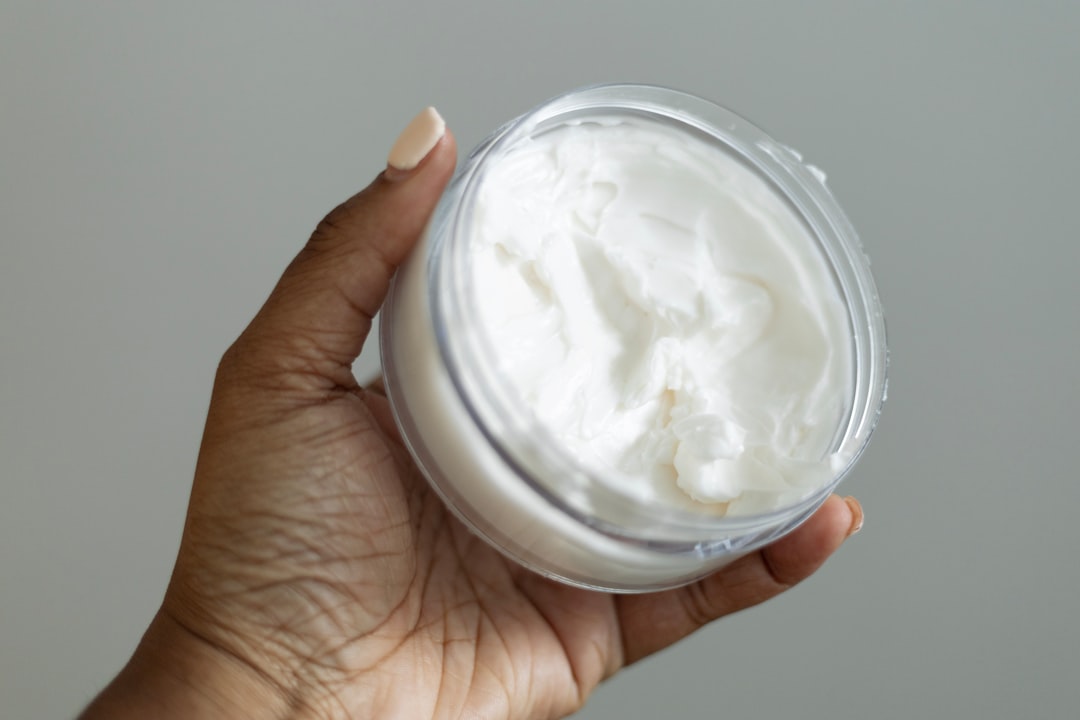
Photo by Leighann Blackwood · Unsplash
This is probably the step that makes the biggest difference — and a lot of people at the counter skipped it entirely. For visible pores, a silicone-based primer, often built around ingredients like dimethicone, is what really helps.
- How it works: Silicone-based ingredients like dimethicone smooth out the unevenness on the skin’s surface so pores and fine lines appear less pronounced. Light then scatters evenly, which is what gives that blurred, soft-focus look.
- The application is everything: Don’t rub it all over your face. Put a small amount only where pores stand out — the nose and inner cheeks — then press gently with your fingertips to smooth the surface. Rubbing can move the product around instead of leaving an even, smooth layer.
- Build slowly, then pause: Too much at once and it just slips around. Apply a small amount, then give it a minute or two to settle before moving on to your cushion.
- If your skin clogs easily or breaks out, it’s worth looking first at products labeled “non-comedogenic” or “won’t clog pores.”
This is basically the idea behind the “pore-blurring” products you’ll see on the market. Skip this step and just pack on cushion, and you’re right back to that settling-into-pores problem.
③ The cushion — don’t spread it, tap it on
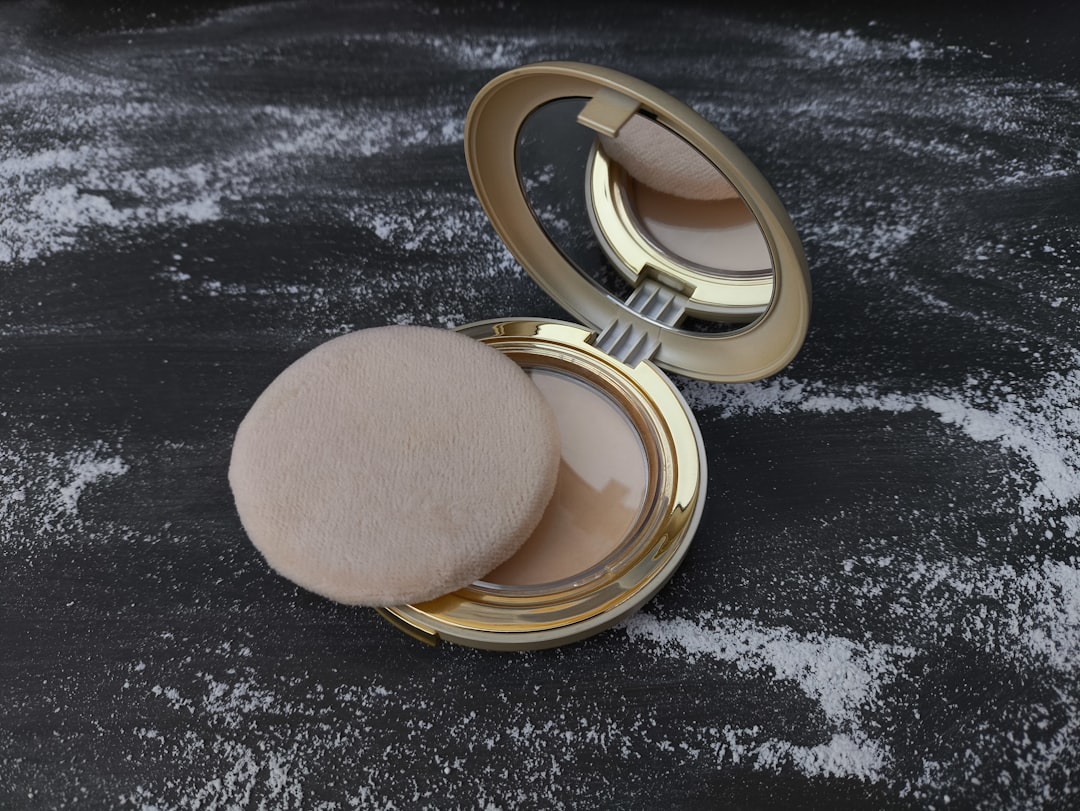
Photo by Anna Evans · Unsplash
This is where the way you use the puff really matters. With a cushion, light tapping (patting) beats sweeping it across your skin. (If cushions themselves are new to you, read my guide on how to use cushion foundation first.)
- No swiping — press: Instead of dragging the puff, press down and lift off in a tapping motion. This helps keep the layers underneath in place instead of dragging them around, and everything lands on the surface with a soft-focus finish.
- Press to smooth over pore areas: On spots where pores are obvious, like the nose and cheeks, use the narrow edge of the puff and press lightly.
- Thin layers, overlapping only in the center: Start thin in the center of the face (nose, inner cheeks) and let it fade out naturally toward the edges. Add one more layer only where you need it, for a thinner, more natural-looking base.
- Control the amount: After picking up product on the puff, press it a couple of times to distribute it evenly before applying — that way it won’t clump in one spot.
④ Cover only where you need it — spot-treat redness and marks
Instead of blanketing your whole face in a thick layer, add a little extra only where you want more coverage. Tap a bit of concealer or cushion onto areas with redness or dark marks and it’ll blend right into the thin base around it. Remember: the more you try to cover everything, the more your pores stand out.
⑤ How to get glow AND pore coverage at the same time (the key tip)
This is the most important part of the whole post. People often say “if you want to hide pores, go fully matte” — but what we actually want is that signature K-beauty glow. You can have both — just don’t put the same finish everywhere.
- Areas with lots of pores (nose, inner cheeks): Very dewy or highly reflective products can catch the light and make pore texture more noticeable. These areas do better with a soft-matte, softly blurred finish.
- Highlight zones with fewer pores (tops of cheekbones, bridge of the nose): Rather than spreading glow evenly across your whole face, adding it selectively where pores are less noticeable makes skin look radiant while playing down texture.
In other words: if pores are your concern, choose a natural or coverage finish cushion over an ultra-glow type, and place your glow deliberately with highlighter. That’s how you get that polished, glass-skin glow without putting extra shine on areas where texture is more noticeable. (If you’re curious about an all-over glow-focused base look, my glass skin makeup post covers that.)
⑥ Setting — a small amount of fine powder, pressed on
This is the last step, and it’s easy to overdo. Get heavy-handed here and everything you’ve done can fall apart.
- Just a little finely milled powder: Press it on thinly, focusing on the T-zone where oil shows up and the areas where pores bother you.
- Press, don’t rub: Sweeping shifts the base underneath. Dab it on with a puff or brush and pores blur further.
- Less is more: Too much powder and the product itself settles into pores and stands out more, then clumps as the hours go by. Go easy on the baking.
- Finish with setting spray: A light mist can help soften that powdery feel and settle the base into something more natural-looking.
The mistakes I saw most at the counter
The urge to cover fast and cover completely was the very thing making pores more obvious.
- Going thick in one pass → the base clumps in the uneven spots and pores stand out more. Thin layers, built up gradually, work better.
- Rubbing it in → the product gets moved around and can leave the texture looking more obvious. Tap instead.
- Oily or high-shine products on pore-prone areas → light reflection emphasizes pores. Blur those areas instead.
- Too much powder → it clumps and settles, backfiring. Keep it minimal.
- Just layering more on top when touching up → applying over a base that’s already broken down only makes it thicker. Blot the oil away first, then tap on a small amount to tidy it up.
I did this too
I’ll be honest — I hated seeing makeup in my pores so much that for a while I applied cushion in thick layer after thick layer. It looked covered for a moment, but a few hours later it would inevitably slide down into the pores beside my nose and stand out even more. I figured “I just need to find a cushion with better coverage,” so I kept switching products, and nothing changed.
What changed wasn’t the product — it was the order. Smooth the look of your pores with primer first, tap the cushion on, place the glow deliberately. Only after I switched to that did a thin application actually make my pores less visible, and hold up better into the evening. That’s when I started telling customers, “Not thicker — thinner, but in the right order.”
Products that help, by purpose
Rather than choosing one “best” product, think about what you actually need it to do. (Everyone’s skin is different, so what works well for one person may not work the same way for you.)
- If pore blurring is your top priority — Benefit The POREfessional: Built on silicone-based ingredients including dimethicone, it blurs pores and fine lines and smooths out the surface — the classic blurring primer. (This is exactly the kind of primer you’d press on in step ②.)
- If you want coverage plus a natural semi-matte — TIRTIR Mask Fit Red Cushion: It delivers solid coverage while keeping pores blurred, and it contains hyaluronic acid for added hydration. The texture is well suited to tapping on in thin layers.
- If a soft, powdery pore finish and longevity matter most — Laneige Neo Cushion The Matte: Worth a look if you want a pore-blurring finish with a more soft-matte, dry-touch feel.
- If you want to bring in glow (on the highlight zones) — CLIO Kill Cover High Glow Cushion: It adds radiance while maintaining coverage. Just remember, as in step ⑤, to use it mainly on highlight zones like the tops of your cheekbones rather than across pore-heavy areas — that way you get less pore emphasis and more glow.
What I always told customers at the counter was simple: technique comes before the product. Even a great primer and cushion can look cakey if you apply too much and rub it around.
To sum up
That, in the end, is how to hide pores with cushion foundation: not by piling on more makeup, but by getting three things right — what you do before the cushion, how you apply it, and how much you actually need.
- Smooth the canvas with exfoliation and hydration
- Smooth the surface first with a silicone primer (press gently, don’t rub)
- Tap the cushion on (don’t spread it)
- Cover only where you need it
- Add glow selectively; keep pore-prone areas softly blurred
- Set with a small amount of powder, pressed on
Remember: more coverage doesn’t always mean less visible pores. With the right prep and a lighter hand, you can get a thinner, more natural-looking base that still looks smooth and polished.