
Photo by Vitaly Gariev · Unsplash
When I was working at a K-beauty shop, customers would sometimes show me an editorial photo and ask, “That soft little puff under the eyes — how do you get that?” And just as often I’d hear the opposite: “I tried drawing it myself, but it didn’t look like aegyo sal at all. It looked like dark circles or eye bags, so I wiped it off.” Both reactions come back to the same thing — aegyo sal makeup is simple to attempt and surprisingly easy to get wrong.
Aegyo sal is the little cushion of fullness that sits right under your eye when you smile. Playing it up makes the eyes look softer and more defined, which is why it’s such a common technique in Korean makeup. But as those shop conversations showed me, get it even slightly wrong and it stops reading as aegyo sal and starts reading as a tired under-eye.
This post covers the kinds of pencils you’ll want, how to choose the color, and the order to work in so it looks natural. The whole point isn’t to draw something bold — it’s to create just enough dimension that nobody can tell you drew anything at all — so let’s start with why it goes wrong in the first place.
This is general makeup information. The eye area has thin, reactive skin, so if product gets into your eye or you notice stinging or redness, stop using it right away. There are also cosmetic procedures — fillers, fat repositioning — that create aegyo sal without makeup. That’s a completely different decision and a medical one, so it needs a consultation with a qualified doctor.
The whole sequence at a glance: ① tackle dark circles first → ② choose your tool and color → ③ find the placement and keep it thin → ④ blend it into a soft area, not a line → ⑤ keep the highlight narrow → ⑥ check your top-to-bottom balance
What aegyo sal is, and why aegyo sal makeup so often reads as eye bags
Aegyo sal is the slightly raised area just under the eye, right below the lower lash line. It pops more when you smile or lightly squint, and the easiest way to picture it is as dimension created together by the lower eyelid muscle and the surrounding soft tissue. Creating it with makeup is really a matter of placing a very faint shadow underneath that raised area to fake the dimension. Once there’s a hint of shadow, the part above it looks relatively rounded.
The catch is that a badly drawn shadow doesn’t look like aegyo sal — it looks like an eye bag or a dark circle. Plenty of makeup artists call this the hardest part of the technique. In an interview with Vogue Singapore, artist Rick Yang described aegyo sal makeup as a “tricky trend to get right because of the placement along the under-eye line,” and noted that when it goes wrong it’s “commonly mistaken for eye bags.”
So aegyo sal makeup isn’t a contest of how boldly you can draw — it’s a matter of how subtly and naturally you can create the illusion. That’s why the steps below are less about drawing well and more about not looking like you drew anything.
① Start with the dark circles — a dull base makes everything dull
This is where things quietly go wrong. If you layer a shadow color on top of under-eye darkness that’s already there, the aegyo sal shadow and the dark circle blur together into one murky, heavy under-eye.
- Color-correct before you draw the shadow: for dark circles with a blue cast, an orange or peach corrector can help; for ones with a brown cast, try beige or yellow. Evening out the under-eye tone first makes the shadow read much cleaner. (I went into under-eye concealer and color correction in more detail in how to cover dark circles with concealer.)
- Don’t pile it on: aegyo sal makeup is about fine, subtle dimension, so if the base underneath is thick, both the shadow and the highlight will sit on top of it and look clumpy. Keep the correcting thin and only where you need it.
② Choosing your tool and color — half the result is decided here
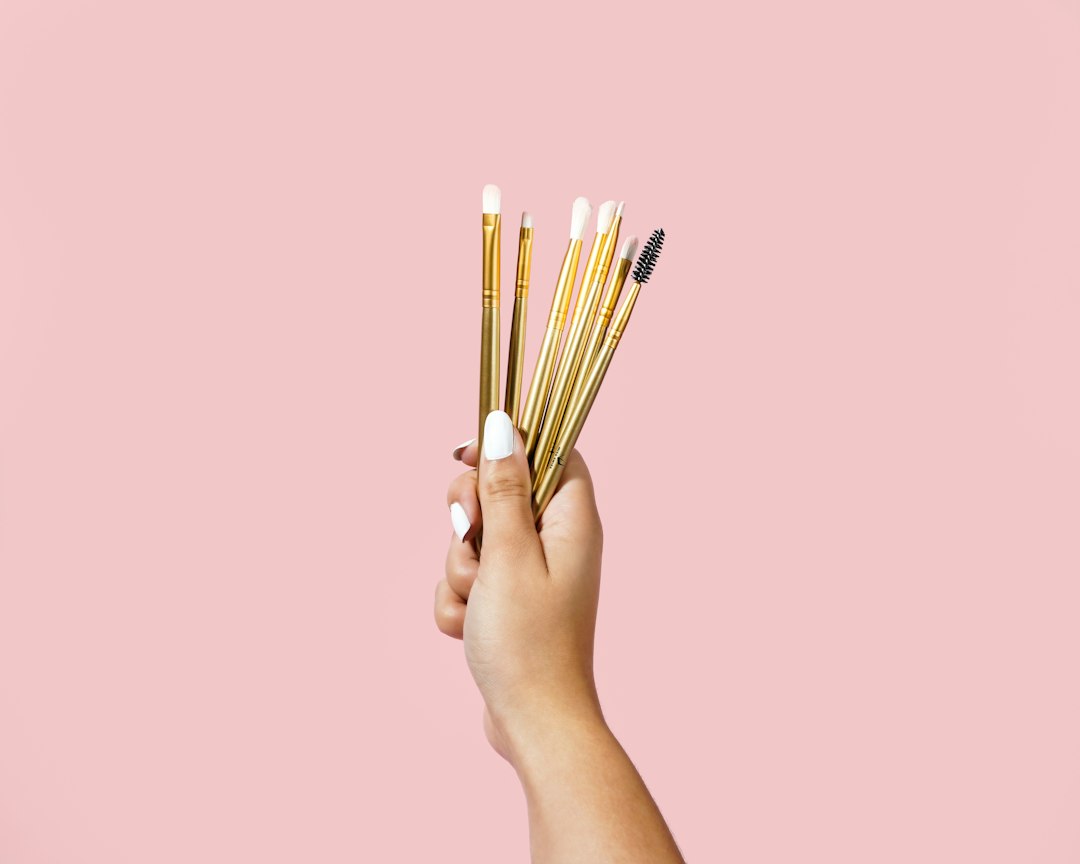
Photo by Ashley Piszek · Unsplash
Tools first. The aegyo sal shadow has to be very thin and very faint, so something that draws a fine line is easier to work with than a wide shadow brush.
- A brow pencil or a pencil liner is the classic pick. In that same Vogue interview, Rick Yang also recommended a brow pencil or liner for a natural finish, saying the “applicator [the pencil tip] tends to be more precise.” A soft formula that smudges easily makes blending simpler too.
- If you’re new to this, a powder shadow plus a thin brush may actually be the safer route. Pencils can turn into a hard “line” before you notice, while powder doesn’t deposit as strongly, so you get less of a line and mistakes show less.
Color is where I saw the most mistakes.
- For the shadow, a matte cool-toned taupe or a light ash brown looks the most natural. The easiest rule of thumb is to go just slightly darker than your own skin. Real shadows on the face fall in a muted grey-brown range, so these shades read as an actual shadow.
- Some colors are simply easier to avoid at first. Anything too warm, too red-leaning, or a deep bronze tends to look like you painted a color on rather than cast a shadow. Starting with a muted neutral taupe or ash brown — something that sits on the skin like contouring — is far more forgiving. On the flip side, be careful with shades that pull too grey: in the same interview, artist Marc Teng said that when a mismatched color goes ashy it can “make you look tired and haggard instead.”
- For the highlight, a soft shimmer in champagne beige, pearl, or a very pale pink works beautifully. Finely milled particles look much more natural than chunky glitter.
In short: a muted shadow shade plus a soft highlight shade. Those two together are what build the dimension.
③ Find the placement, then keep it thin
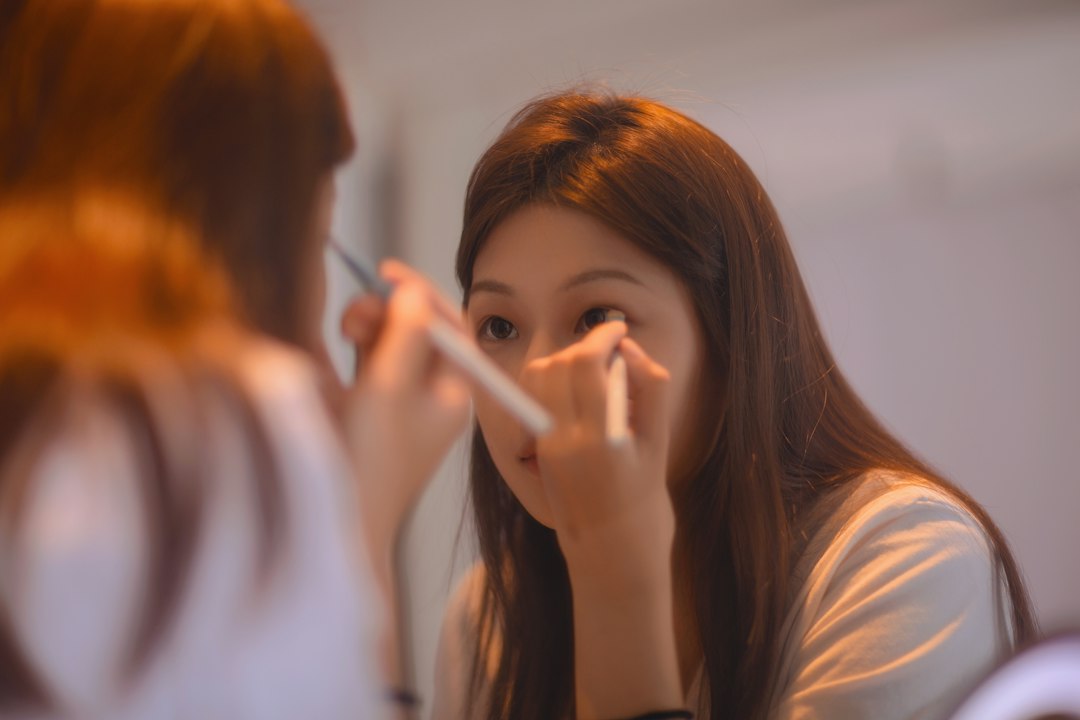
Once you’ve got your colors, the question is where to put them. This is where “smile at the mirror” matters.
- Smile a little and locate your aegyo sal first. The plump part that appears under your eye when you smile — the edge directly beneath it is where the shadow goes.
- Keep the range narrow to start — roughly the width beneath your iris. If you run the shadow all the way from the inner corner to the outer corner, it stops looking like aegyo sal and starts looking like a painted stripe.
- Don’t go bold from the start. Marc Teng’s advice was to “build up the colour slowly if you’re just starting out.” Drawing it lighter than you think you need and adding more is far more natural than trying to erase something too heavy.
④ Not a line but a soft area — the blending is the whole thing
This step makes or breaks the look. If the shadow stays a crisp line, it just looks like someone drew a stripe under your eye.
- Soften the edges immediately after drawing. With a cotton swab, a clean fingertip, or a small blending brush, gently diffuse the lower edge of the shadow so it becomes a soft area instead of a line. You’re not wiping the color away — just breaking up the edge.
- Soften the upper edge too (the side against the plump part): let the shadow fade out gradually under the aegyo sal and it will read like a real shadow.
Skip this step and it’ll look drawn on no matter how good your color choice was. Do only this step well and most of the awkwardness disappears.
⑤ Keep the highlight narrow, under the pupil
You’ve pressed the lower edge back with shadow, so now it’s time to brighten the raised part slightly to emphasize the fullness.
- Centered under the pupil, and narrow: sweep highlighter across the whole under-eye and you get a shiny band, not aegyo sal. Tap it only onto the highest point of the raised area, in a space narrower than one finger joint.
- A small amount at a time, with a fingertip or a small brush: a touch of soft shimmer is plenty. If you want that dewy, luminous under-eye look, it pairs well with a glow-focused base. (I covered soft glow bases in Korean glass skin makeup.)
⑥ Check the top-to-bottom balance
Finally, step back and look at the whole eye. If the aegyo sal stands out while the upper lid (eyeshadow, liner) is flat, the eye can look bottom-heavy.
- Match the weight top and bottom: if the aegyo sal is defined, define the upper eye a little too — or take the aegyo sal down a notch. Of the two, taking the aegyo sal down is the lower-risk fix.
- The test for natural aegyo sal comes down to one thing: does the under-eye still look fine when you’re not smiling? If it looks comfortable in the mirror with a neutral expression, you did it right.
The mistakes I saw most at the shop
So often, the very effort to make the aegyo sal pretty was what made it look like eye bags.
- Leaving the shadow as a hard “line” → a stripe under the eye that reads as unnatural. Always diffuse the edge into a soft area.
- Covering too wide an area → a painted patch, not aegyo sal. Keep it to about the width under your iris.
- Choosing a warm brown, a red-leaning shade, or something ashy → it looks like a tired mark rather than a shadow. Go for a muted cool taupe.
- Drawing the shadow straight over dark circles → everything blurs into murk. Color-correct first.
- Highlighting the entire under-eye → a shiny band. Only a narrow spot centered under the pupil.
I did this too
Honestly, when I first tried copying aegyo sal, it looked pretty up close in the mirror and then my under-eye looked dark and tired in photos. I assumed I hadn’t covered enough, so I spread the highlighter wider — which only made my under-eye look greasier.
What fixed it wasn’t drawing more; it was the order and easing up. Even out the dark circles first, keep the shadow very faint and very narrow, diffuse every edge into a soft area, and tap the highlight on in one small spot. Only after that change did I get aegyo sal that still looked fine with a neutral expression. From then on, that’s what I told customers too: “Not darker — just blend the edge of the shadow properly.”
Makeup vs. procedures, briefly
While I was at the shop, some people asked, “Drawing this every day is a hassle — can’t I just have it made?” There are indeed procedures that create aegyo sal, like fillers or fat repositioning. But that’s an entirely different, medical decision. You’d need to weigh how long it lasts, the cost, the side effects, and the practitioner’s skill, and results vary because everyone’s eye shape and skin are different. If you’re curious, the right move is a direct consultation with a qualified doctor, not reviews or blog posts. What this article covers is strictly the makeup side — the kind you can wipe off and redo.
Helpful tools, by purpose
Rather than chasing one specific product, it’s easier to shop by what each step needs. (Everyone’s eye shape and skin tone differ, so checking what suits you is always the best place to start.)
- Under-eye color correction — orange or peach correctors for blue tones, beige or yellow for brown tones
- Shadow — a matte cool taupe or ash brown brow pencil or powder shadow (just slightly darker than your skin)
- Blending — cotton swabs, a small smudge or blending brush
- Highlight — a finely milled shimmer in champagne beige, pearl, or pale pink
To sum up
Aegyo sal makeup isn’t about drawing something bold — it’s about faking dimension with a faint shadow and a soft highlight.
- Even out dark circles with color correction first
- Pick a fine tool (brow pencil or powder) and a muted cool-toned shadow shade
- Smile to find the placement, then keep it thin and about as wide as the area under your iris
- Not a line but a soft area — always diffuse the edges
- Keep the highlight to a narrow spot centered under the pupil
- Check your top-to-bottom balance (it should look fine with a neutral expression too)
If you remember just one thing — aegyo sal should be faint and narrow, not bold, and the edges must be blended — you’ll be well on your way to soft, dimensional eyes without making the under-eye area look like an eye bag.