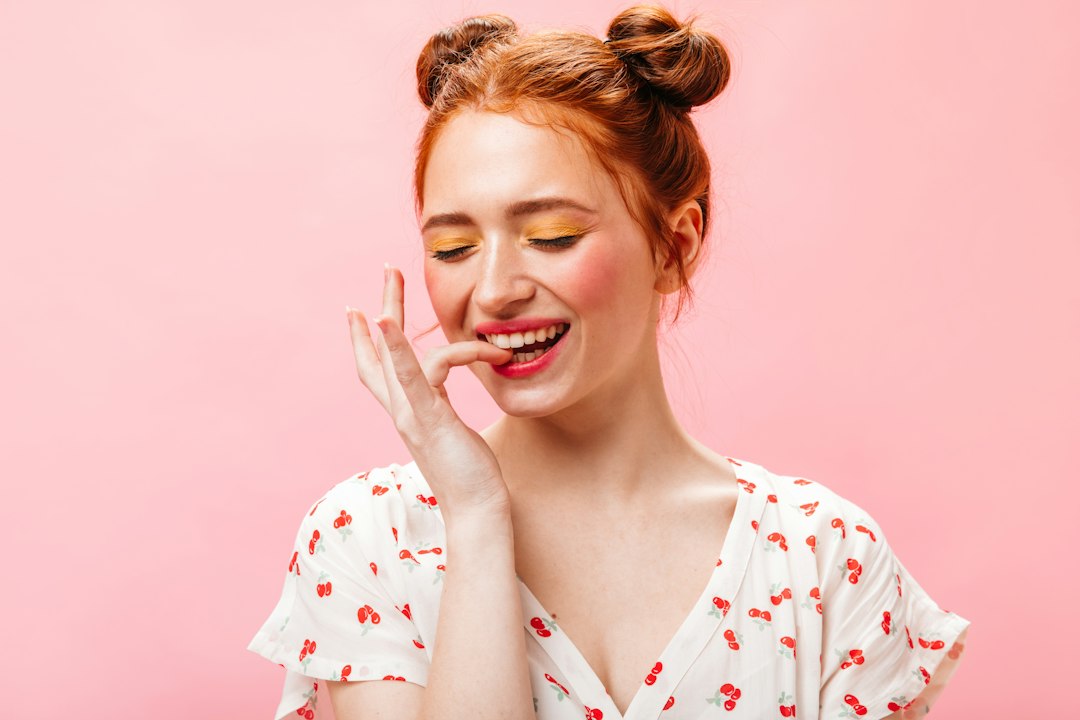
Photo by Look Studio · Unsplash
Cream blush gives you that dewy, softly flushed look, which is why it’s a favorite for creating a fresh, natural finish. But if you’ve tried it, you’ve probably had it go blotchy and cakey, or clump into a much stronger patch of color than you expected. A lot of people switch to cream blush in dry seasons like winter because powder blush can emphasize dry patches and flaky skin. Then they find that cream doesn’t look natural either.
The truth is, cream blush works or fails based less on the shade and more on your base and how you put it on. Change where, in what order, and how you apply it, and the cakiness and heaviness drop off fast. Below I’ll walk through how to apply cream blush so it blends naturally: the order, the placement, and the most common mistakes.
This is general makeup information. If your skin is sensitive, patch test any new product first (the inner arm works well), and stop using it if you notice stinging or redness.
The whole routine at a glance: ① a dewy base (before powder), ② choosing your tool, ③ finding your placement, ④ tapping and layering instead of rubbing, ⑤ finishing and making it last.
Why cream blush looks natural, and why it goes wrong
Cream blush looks so pretty because the texture melts into your skin and creates color that seems to come from within. That’s also why it often blends more easily when applied before your base is fully set with powder.
It fails for the same reason. Applying cream blush over a heavily powdered, matte base can make it harder to blend, sometimes leaving the color patchy or uneven. Apply too much at once, or swipe it on, and you drag the foundation underneath, which looks messy. That’s why every step below is about tapping thin layers onto a dewy base, not about building strong color.
Base and tools
For beginners, the easiest order is generally to put cream blush on over a dewy base like liquid foundation or a cushion compact, before powder. If you fully set your base with powder and then add cream, the base can shift or go patchy with some products. That said, some formulas pair fine with powder, so tapping them on over it is okay too. (I covered dewy, glowing bases in my glass skin makeup post.)
Pick whichever tool you like. Your fingertips can warm the formula slightly, helping it blend into the skin. A brush offers a softer, more controlled application, while a damp sponge can help sheer out the color if you’ve applied too much.
Rather than dotting a lot straight onto your face, put a small amount on the back of your hand first so you can control how much you pick up.
Where to put it
Placement alone can change your whole look.
A good starting point is to apply blush to the apples of your cheeks, then blend outward while keeping the color from spreading too close to your nose. From there, carry it upward. Softly diffusing the color toward your ears or temples can make your face look fresher and a little lifted. If you want a younger look, go slightly higher. In K-beauty, youthful blush usually sits a bit higher than usual, toward the outer corners of the eyes. On the flip side, spreading it wide across the lower cheek can make your face look a little heavier or droopier, depending on the style you’re after.
Treat face shape as a loose reference. Some guides say round faces should go a bit higher along the cheekbones, heart-shaped faces should blend in a C shape from the lower cheek up to the temples, and angular faces should keep it in the center of the cheek. Most placement tips like these are references rather than fixed rules, though, so the most accurate approach is to look at your own face and adjust little by little.
How to apply cream blush by tapping, not rubbing
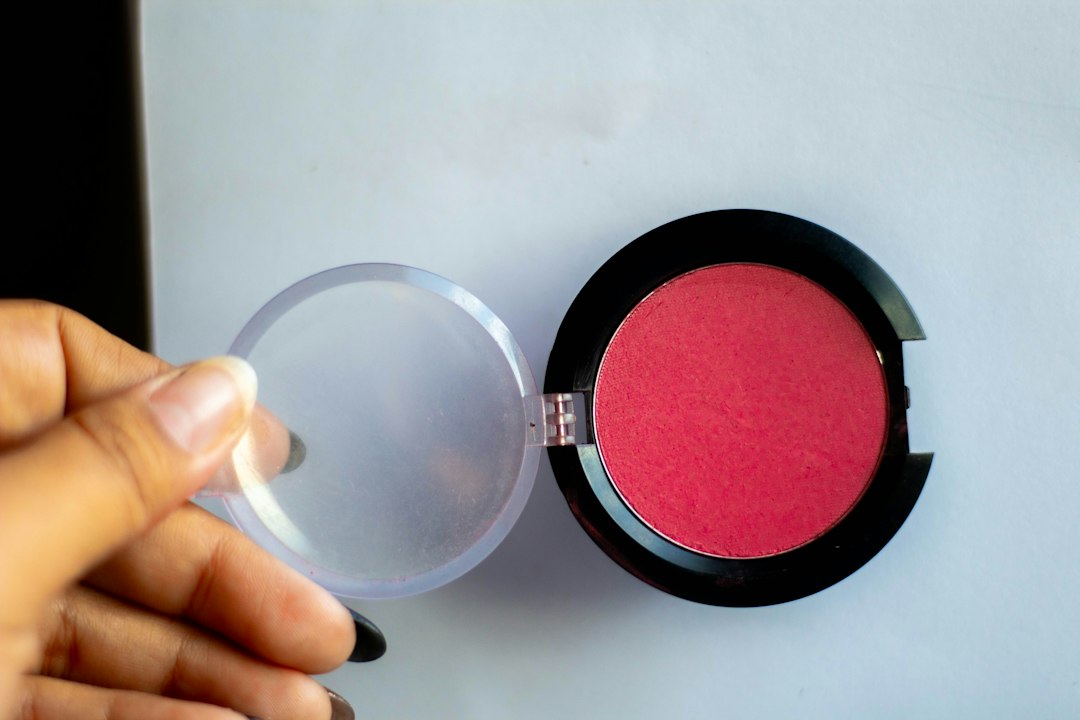
Photo by Alex Gallegos · Unsplash
This is where cream blush pretty much succeeds or fails.
Bounce it on. Rubbing or swiping drags the base underneath and leaves patches. Use your fingertips or a sponge to press and lift gently rather than rubbing. This helps blend the color without disturbing the foundation underneath.
Start small and build. Too much at the start is hard to take off and ends up overdone. Apply a little, blend, compare both sides, and add more only where it’s lacking. It looks far more natural that way.
Soften the edges. Blur the stronger outer edge first, then tidy up the center, so the color doesn’t start and stop abruptly. (This isn’t a set direction, just one way to make the edges soft.)
Finishing and staying power
If you have oily skin, press a little powder onto the oily areas that bother you after your cream blush is on. Powdering directly over the blush can change its color payoff or finish, so lightly tidy the surrounding areas first. If you’d rather keep things dewy, finish with a light setting mist instead.
Want it to last longer? Try layering a small amount of powder blush in a similar shade over the cream. Depending on the formulas, this can help your blush wear longer.
Match your highlighter to your formulas and finish. A powder highlighter after cream blush makes it easy to tidy up color and contours. Cream and liquid products often work well together too, though, so adjust the order to suit the textures and compatibility of what you’re using.
Common mistakes
- Applying cream blush after setting with powder. Depending on the product, the base can shift or go patchy. If you’re a beginner, try cream first and powder last.
- Too much at once. It looks overdone and is hard to remove. Start small and build.
- Swiping it on. It drags the base and looks messy. Tap instead.
- Placing it too low for the look you want. Depending on the placement, blush spread across the lower cheek can make the face appear heavier. Try starting at the apples and blending outward and slightly upward.
- Putting off blending. Some creams set quickly, so blend right after you apply.
What shoppers asked me at the beauty shop
When I worked at a Korean beauty shop in Vancouver, I often heard, “I bought a cream blush, but it keeps going cakey and patchy.” Once we talked it through, most of them were putting cream on after finishing with powder, or dotting a lot on at once and swiping it around.
When I told them, “Try it before powder, and tap a small amount on with your fingertips,” many said the cakiness got noticeably better. It helps to think of cream blush not as something you pile on, but as thin layers on a dewy base that build into color that looks like it’s coming from your own skin. (If you want your lips to match that soft, dewy finish, pair this with my gradient lips guide.)
Thin layers, not heavy color
The key to cream blush is not applying it heavily, but tapping thin layers onto a dewy base.
- Dewy base first, powder after the blush
- Use your fingertips, a brush, or a sponge, and start with a small amount on the back of your hand to control how much you apply
- Place it on the apples and blend outward and upward (not too low)
- Tap instead of rubbing, start small, and build while checking both sides
- If you have oily skin, lightly powder the areas around your blush, and choose a highlighter formula that works well with your other products
Forget “more color” and remember “thin taps on a dewy base.” That simple change can help you achieve softly flushed cheeks without the patchy or overdone look.