Photo by Renji Desh · Unsplash
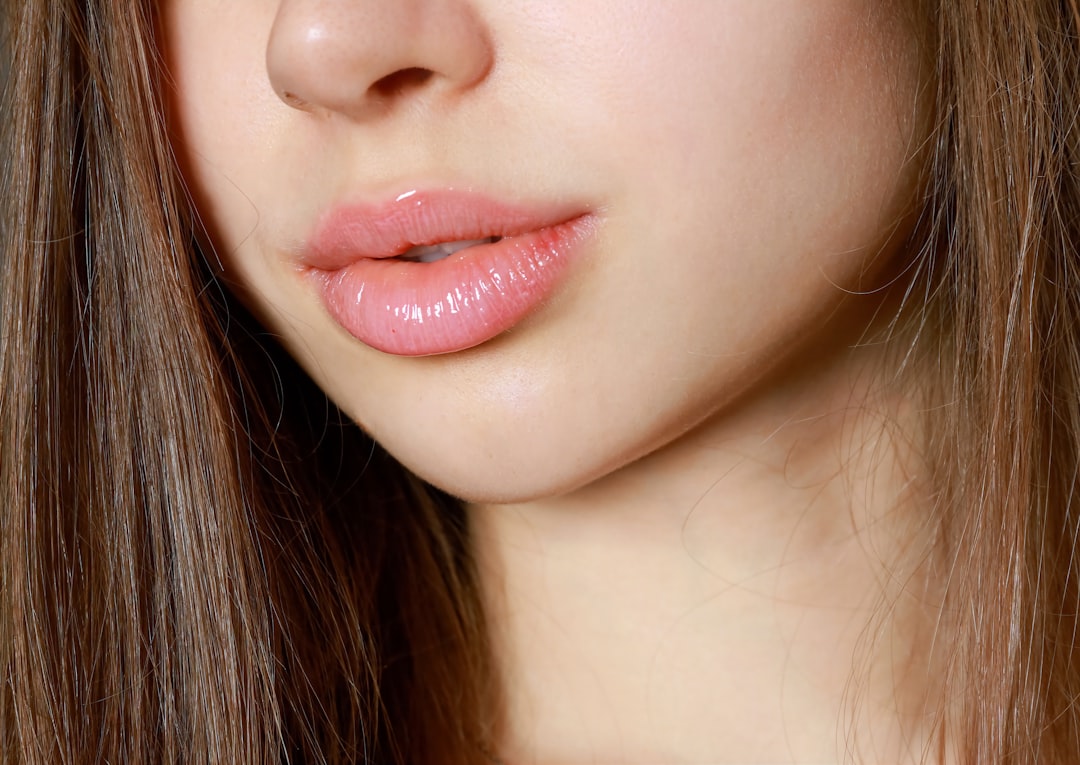
Watch a K-pop stage or flip through a K-beauty photo shoot and you’ll see this look everywhere: soft and plump, with color that gently fades outward from the center. When I worked at a Korean beauty shop, customers would often pull up a photo and ask me, “How do you get that juicy, stained lip?” But plenty of them came back after trying it themselves and said things like “the middle is dark and the edges are patchy, so it just looks messy,” or “it looks like my lipstick wore off.”
A gradient lip is a technique where you concentrate color in the center of your lips and let it fade out softly toward the edges. Done well, it can make your lips look fuller, softer, and more youthful. The funny thing is, whether it works depends less on the shade and more on how well you blur the edges. In this post I’ll walk through how to do gradient lips step by step — the tools you need, how to pick a color, and the order that keeps it from looking messy.
This is general makeup information. Lips are a sensitive area, so be gentle when exfoliating, and if a new tint stings or causes redness, stop using it. If your lips tend to chap or crack often, focus on moisturizing first instead of scrubbing hard.
The full routine at a glance: ① Prep your lips → ② (Optional) Soften your lip line → ③ Color in the center only → ④ Dab, don’t rub → ⑤ Blur the edges → ⑥ Finish and play with variations
Why gradient lips look so good — and why they go wrong
The reason gradient lips look so pretty is simple. When the center of your lips is deeper and the color gets lighter toward the edges, the center stands out more, which visually makes your lips look a bit fuller. It also looks younger and more natural than a full, solid lip.
The catch is that if you can’t create that “natural diffusion,” you get the exact opposite. If you stamp dark color in the middle and there’s a hard line where it meets the rest of your lip, it ends up looking patchy, or like your lip color is half worn off. In other words, a gradient lip isn’t about “applying it intensely” — the real key is blurring the edges so the color blends naturally from the inside out. That’s why every step below focuses on how to soften and diffuse the color.
① Start with prep — flaky lips ruin everything
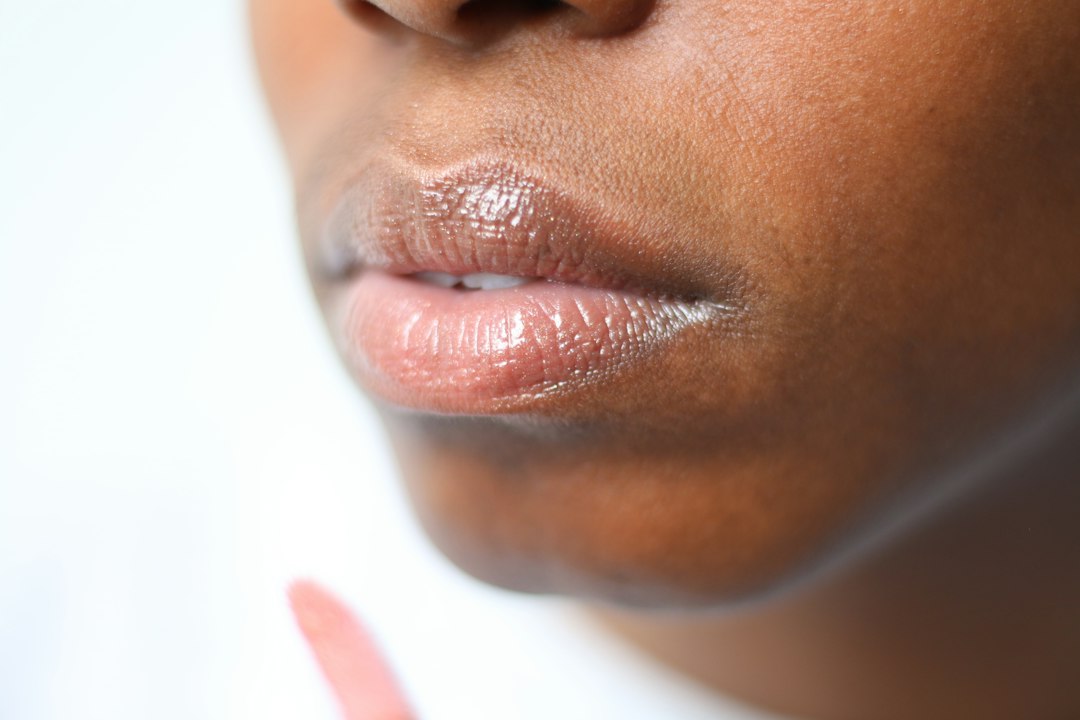
Photo by Melissa Di Rocco · Unsplash
This is where a lot of people go wrong without realizing it. If your lips are flaky or dry, the color clings to the dry patches and the gradient can end up looking blotchy.
- Gently smooth away flakes: If you already have a lip exfoliating method that works for you, do it ahead of time. But if your lips are already chapped and cracked, don’t force the flakes off — focus on moisturizing instead.
- Moisturize, then blot off the excess: Apply lip balm and let it sink in, then press a tissue lightly on your lips to lift any leftover slip on the surface. If you put tint on lips that are too slick, the color slides around and the gradient can end up looking messy.
② (Optional) Soften your lip line
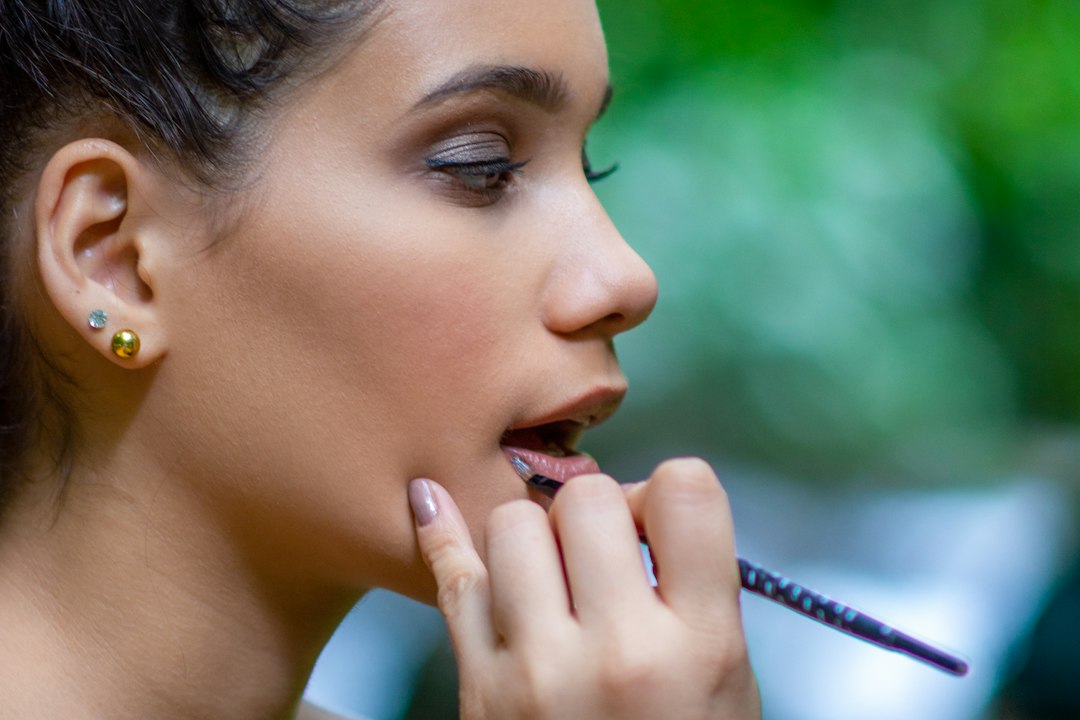
Photo by Chalo Garcia · Unsplash
If your natural lip color is deep or your lip line is very defined, this step makes the gradient much cleaner.
- Dab a little concealer on the outer edges and blend it lightly inward to softly tone down your natural lip color and line. This gives the color a “base” to fade out into naturally.
- Let the concealer set for about 30 seconds before adding color. If you put tint straight onto concealer that hasn’t dried, the tint can slip around and sit unevenly on top.
- This step is especially helpful if you have thin lips. Softening your natural line and gathering the color in the center makes lips look plumper.
③ Apply color to the center only
The amount matters a lot here. You’re not filling in the whole lip like you would with lipstick.
- Apply just a few small dots of tint to the center of your bottom lip. For your top lip, simply pressing your lips together to transfer a little color is enough.
- Don’t keep layering: If you apply a lot from the start, it’s hard to take back and the color spreads too dark. Starting small and adding more only if you need it looks far more natural.
④ How to do gradient lips the right way: dab, don’t rub
This is the step that basically makes or breaks a gradient lip.
- Dab with your fingertip: Tap lightly with the tip of your finger to move the color from the center outward. Swiping or rubbing pushes the color in one direction and leaves streaks, so the key is to press and lift, letting the color diffuse.
- Press your lips together gently: Lightly press your top and bottom lips together and move them side to side just a little. The color will naturally diffuse from the inside out — like your lips right after eating an ice pop.
⑤ Blur the edges
- If the outer edge still looks too defined after dabbing, use a clean fingertip or a concealer brush to gently soften just the border. You’re not wiping off the color — you’re only smudging the edge line.
- Once you get through this step, you’ve got a soft, seamless gradient that fades naturally from the center outward.
⑥ Finishing touches and variations
- Add shine with gloss or lip oil: Tap a little gloss or lip oil onto just the center, and your lips will look fuller and juicier — like a “glass lip.” Skip it if you want a matte look. (It also pairs beautifully with a dewy, glowy base — I covered that in my glass skin makeup post.)
- Two-tone: Use two shades — a deeper one inside and a lighter one outside — for a more dimensional lip. Just make sure the undertones match (warm with warm, cool with cool), or the color can turn muddy.
- Mix tint into lip balm: Blending a small amount of tint into lip balm softens the color payoff and gives a moisturized finish. Depending on the product, though, it may not last as long.
Common mistakes I saw while working at a beauty shop
Often it was the effort to make it look pretty that ended up making it messy.
- Tint straight onto flaky lips → color clumps and looks patchy. Prep and moisturize first.
- Going intense all at once → a hard edge that looks like your lip color wore off. Start small and build.
- Rubbing to spread it → color gets pushed one way and streaks. Dab instead.
- Layering shades without matching undertones → the color turns muddy. Warm + warm, cool + cool.
- Adding color before the concealer dries → the tint can slip around and sit unevenly on top. Let it set for 30 seconds.
I made these mistakes too
Honestly, the first time I tried a gradient lip, the center was dark and the outer edges looked too stark and disconnected — it actually looked more awkward than no lip color at all. Even when I’d picked a pretty shade, it kept looking like my lip color had half worn off, so I’d end up wiping it away.
What changed wasn’t the color — it was the method. Prep the flakes first, put a small amount of color in the center only, dab with your fingertip instead of rubbing, and blur the edges. Only after I made those changes did I get that soft, blended look from the inside out. From then on, I’d tell customers, “Don’t apply it heavily — just focus on blurring the edges.” (If you want to soften your eye look to match, it goes really well with aegyo-sal makeup.)
The bottom line
A gradient lip isn’t about applying color intensely — it’s about gathering color in the center and blurring the edges so the color blends naturally outward.
- Smooth away flakes + moisturize, then blot off the excess
- (Optional) Soften your outer lip line with concealer and let it set for 30 seconds
- Put a small amount of color in the center only — start small and build
- Dab with your fingertip, don’t rub
- Blur the edges with a fingertip or brush
- Play with gloss, two-tone looks, or a lip balm mix
If you remember just one thing — keep the color concentrated in the center and soften the edges — you’ll be much more likely to get soft, plump-looking lips without the messy finish.